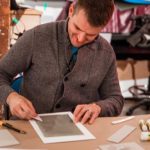
Bookmaking for even the clumsiest of hands.
We can’t discuss the Distillery without talking about the arts. The Distillery Artscape building is one of several Artscape venues in the city. Artscape is a not-for-profit organization is based in Toronto which fosters the bond between creator and community.
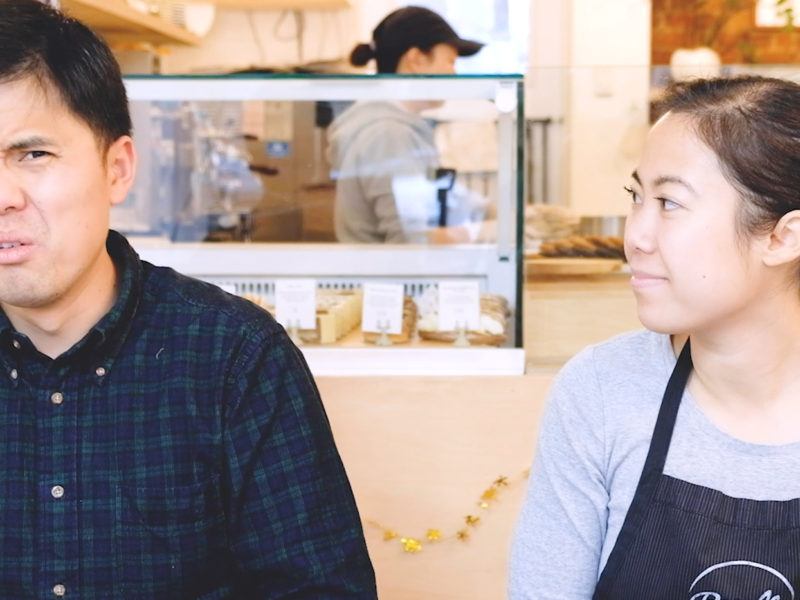
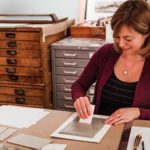
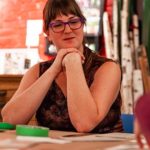
It began in the 1980s from a trust fund left by a Toronto artist who wanted to create a legacy and pay it forward. One of the resident artists in the Distillery is Natalie Draz of Proof Studio.
Intrigued by her postcard, I reached out to see if she would be interested in filming an art session for our journey through Toronto. She was eager and invited us on a tour!
Click on the video below to learn more about Natalie.
Bookmaking, like any other art form, takes patience, more patience, and a little glue.
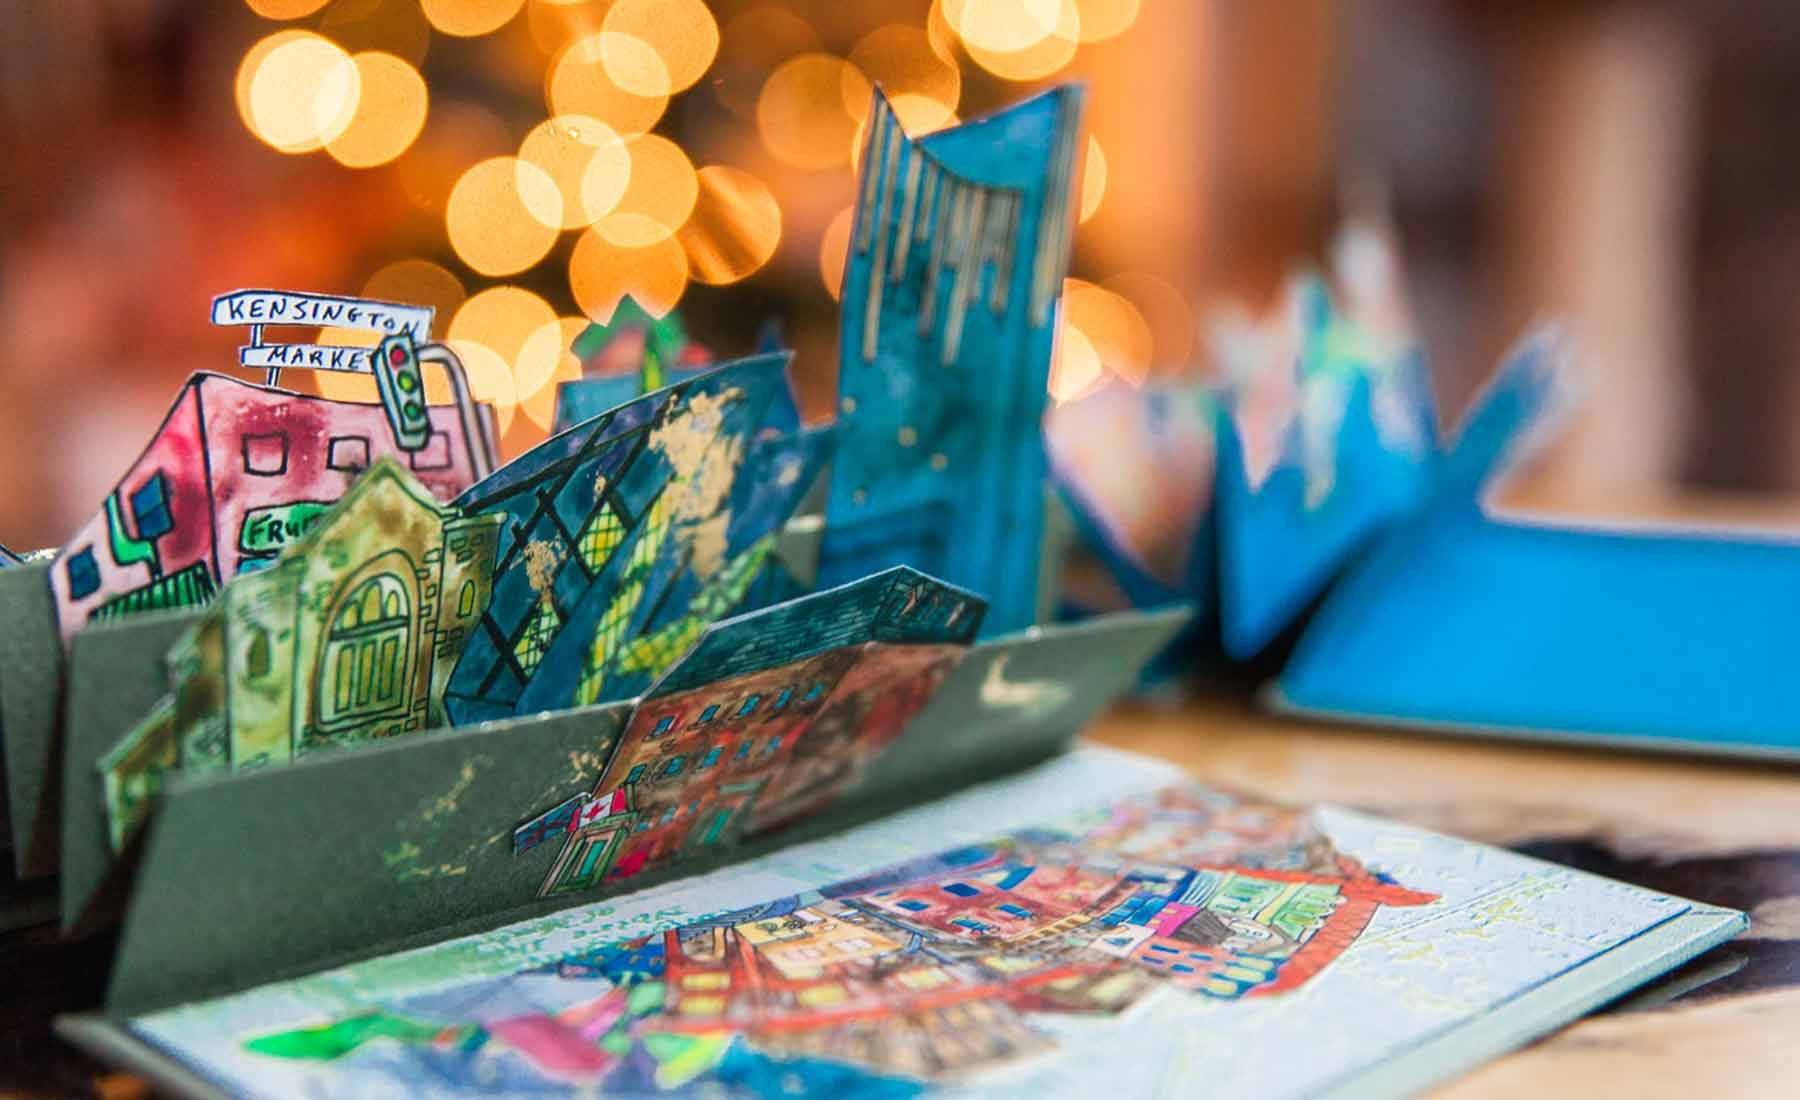
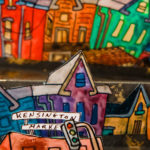
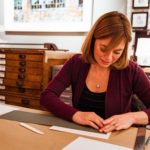
Now, being in the Artscape building, we had to do something. Natalie suggested we do a workshop on bookmaking. Angie and I quickly jumped at the chance, and we each made a Toronto-inspired map book.
Check out our instagram page for the behind-the-scenes on how to make a flag book. Below, you’ll get the materials and instructions on how you can make your own Toronto-inspired map book.
A Table Of Contents
So what do you need to make this book happen? A surface, for one. A table will do nicely. You’ll also need:
- Self-healing mat or piece of thick artboard to absorb the cuts and save your table!
- Artboard or Eska board
- Flexible medium weight coloured paper, 2 sizes: 4.5” by 6.5” (2 sheets), and 5.75” by 18” (1 sheet)
- Ruler
- Scissors
- Exacto knife
- Pencil
- Bone folder
- Glue
- Two encyclopedias (if they still exist) or your heaviest books
- Optional: gold foil, old books for texture, scraps, ribbon, anything that’s flat and can give it some dynamic.
Construction Instruction
Step 1 – We’ve got you covered
Measure and cut your artboard to 4” x 6”.
PRO-TIP #1: Your first cut should be a scoring cut. This means you don’t press too hard into the artboard, creating a shallow cut that will act as a guide for your blade. This is for safety and to make sure you don’t get any wonky lines.
Take your 4.5” by 6.5” sheets, spread a thin layer of the glue from edge to edge, and with scientific precision, place the artboards in the centre. Press down to ensure the sheet is really stuck onto the art board.
Trim the corners off the colour paper and fold the edges into the board.

PRO-TIP #2: Place a scrap of artboard on its edge at the tip of the artboard to measure out the pinch of room you need to leave when cutting off the tip of the colour paper. When folded, this will give you crisp, clean corners.
There you have it! Your covers are done! Wrap the cover in wax paper and press with a weight. Leave it there for a moment.
PRO-TIP #3: If your covers are cool to the touch, it means it’s not yet fully dried. A fully dried cover shouldn’t feel damp, moist or cold. It should feel like, well, normal paper.
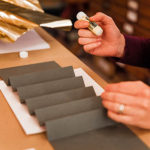
Step 2 – Accordion to the instructions, it’s folding time
Take your flexible medium weight 5.75” by 18” paper, and mark on the long edges: 3.75” in, then 10 more times at 1” intervals, and 3.75” from the other edge. You will have a bit of excess on one end (just in case any mishaps occur).

Take your bone folder, line up your ruler to your marked edges, and score. Score all 12 markings. And now you fold. Remember to fold back and forth; if you fold in the same direction, you’ll make a circle.
PRO-TIP #4: To get clean fold edges, use your bone folder. Press the edge of the bone folder along the fold, and gently scrape the edge. Start gently and add pressure along the way. Don’t press so hard that you’ll scrape off a bit of the paper.
And now we decorate!
Step 3 – Interior Decorating has never been so easy
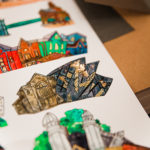
Anything goes here! One thing to keep in mind is that the illustrations shouldn’t extend further than the edge of the covers. You’ll want to protect them so you can get as many people to pore over your book as possible. Your genius must be appreciated!
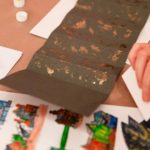
Play with levels, scales, and negative space here. Understand what it’ll look like if everything is folded, and what it might look like when it’s flat.
PRO-TIP #5: Use a gentle tape, like painter’s tape, to fix the illustrations temporarily to the accordion until you’ve settled on your final look.
Be brave! Have faith in your vision!
Step 4 – We’re all in this together
It’s time to affix your cover to your accordion. Put glue on the non-designed side of the accordion, and press your cover to the glue. Do that to the other side, and…
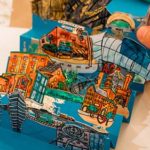
The Final Chapter
You’ve finished! You can journey down the little streets of your book anytime you want. Just don’t do what I did and compare your perfect little creation to the elaborate works that Natalie has done. It’s just not fair, so spare yourself the heartache. Natalie, of course, would brush this off — she loves the process, warts and all.
So, this is another layer of what’s offered at the Distillery. There is, of course, the traditional night out — dinner and a show — but just around the corner is a new passion waiting to be discovered. Perhaps in places you least expect it.
—
To find out more about Natalie and her workshops, click here to see her website.
Natalie studied printmaking at the University of Toronto and OCAD, received her BA at the University of Toronto, and her MFA in print media from Concordia University. Natalie also worked as a sessional instructor at Concordia in print media teaching intaglio and was a guest instructor in the design department for letterpress.
She is a CBBAG guild member, the Canadian Bookbinding and Book Artist Guild.
Natalie’s books have been collected by the Library of Congress, the Toronto Reference Library, and the University of Concordia.
She is usually ensconced in PROOF Studio Gallery, Studio 104 in the Artscape Building, in the Distillery District, in the city we all love.